|
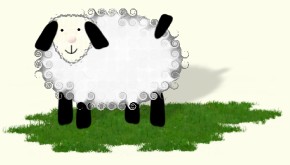
Create a sheep with the
 Preset Shape tool and PsP own effect QurtlyQ's
If you want to use selections, download these selections
and
save them in your selections folder.
To use selections, choose Selections - Load from Disk.
- the body and head selection;
fill with gray color, contract the selection with 2 and fill with
pattern.
- the ears, tail and legs selection, fill with black color.
Pattern to
use,


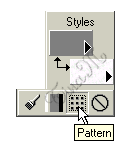
Open a new image 300 x 300 on a transparent background
Set your foreground
color to gray #808080 set your background color to the white teddy pattern.
Use the  Preset Shape tool with these settings Preset Shape tool with these settings
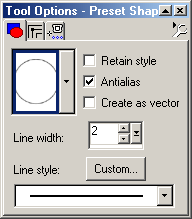
And make an elipse.. (or
use the sheep_body selection)
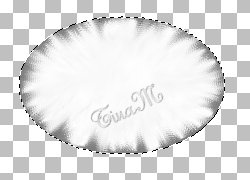
Choose, Selections - Select All, Selectios - Float
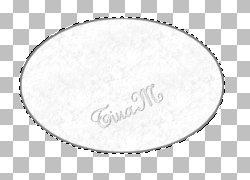
Use the
 Retouch tool, and
"paint", make small strokes inwards
This will take a little time to get use to and to get it just the way you
want.

Choose Effects -
Geometrics effects - CurlyQ,
use this settings;
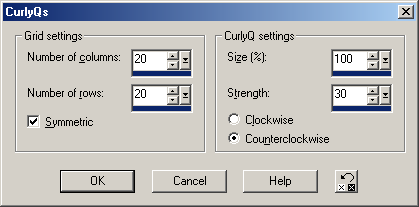
Repeat if you want. (Edit
- Repeat QurlyQ's  ) )
Create a new layer, named head.
Change the pattern, to the yellow teddy, and use the
 Preset Shape tool,
with the same settings, but make a triangle, with the "Create as
vector" checked. (Or use the sheep_head selection).
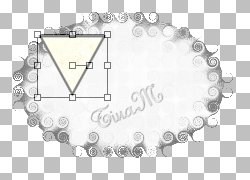
Use the  Object Seletor tool, and press Node Edit, rightclick in the image
and choose, Object Seletor tool, and press Node Edit, rightclick in the image
and choose,
Edit - Select all, rightclick again, and choose Node type - Symmetric.
Then rightclick and choose, Quit Node Editing ...
Choose, Layers - Convert to Raster Layer.
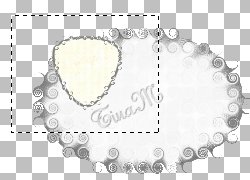
Make a rectangle selection round the head, (see image)
and use the CurlyQ's effect with the same settings..
Deselct.
Create a new layer named
ears
Set the Foreground Color Null  , and
change the background to black color.
Use the , and
change the background to black color.
Use the  Preset Shape tool an make a vector selection like mine, (Or use
the sheep_ears selection) Preset Shape tool an make a vector selection like mine, (Or use
the sheep_ears selection)
Create a new layer, named tail, and make a tail the same way ..
Create a new layer, named legs, and make four legs the same way ..
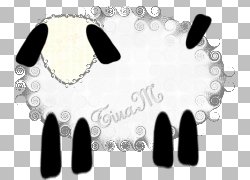
And with the legs layer
selected, choose Layers - Arrange - Send to bottom
Now the mouth eyes use the Draw tool. 
Maybe tube some grass and save your image..
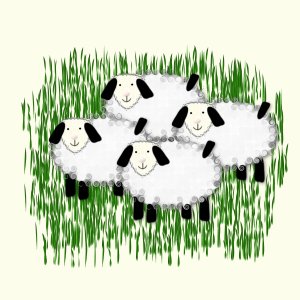
|


